The Flowering Stage - Week by Week Visual Guide
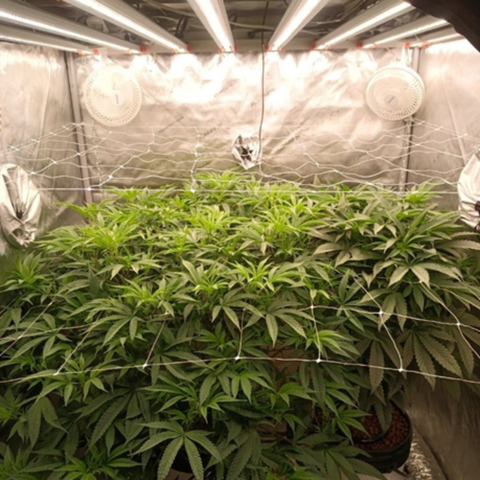
Cannabis cultivation is both an artform and a science. Understanding the flowering phase is crucial for successful harvests. This is the second last installment of our Seed to Harvest series. The visual aids throughout this article were generously provided by @treetrunk422, a highly skilled Future Harvest grower.
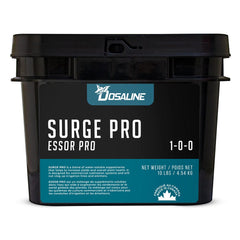
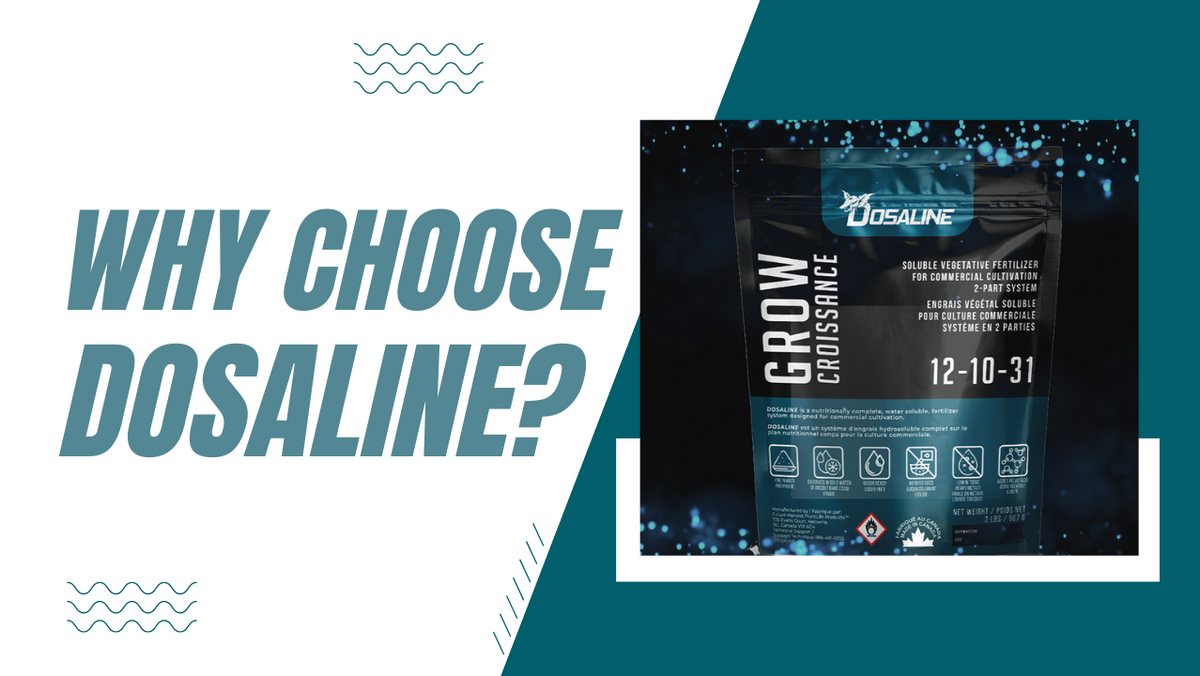
Through expert cannabis cultivation practices, @treetrunk422 utilized Future Harvest’s premium powdered nutrient line, Dosaline, to achieve amazing results! Dosaline was formulated for commercial cultivation and cannabis connoisseurs. The Dosaline line of nutrients consists of Dosaline Base, Grow and Bloom, along with a premium supplement blend, Surge Pro.
As cannabis transitions from vegetative growth to flowering, there are significant changes in plant physiology, nutrient requirements, and environmental needs. This guide provides a detailed week-by-week breakdown of the cannabis flowering stage, helping novice and experienced growers navigate the process until harvest.
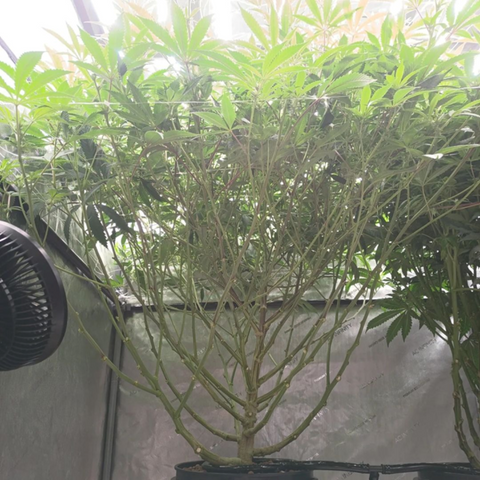
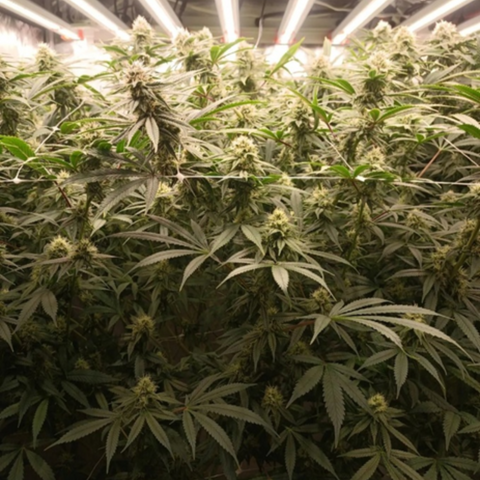
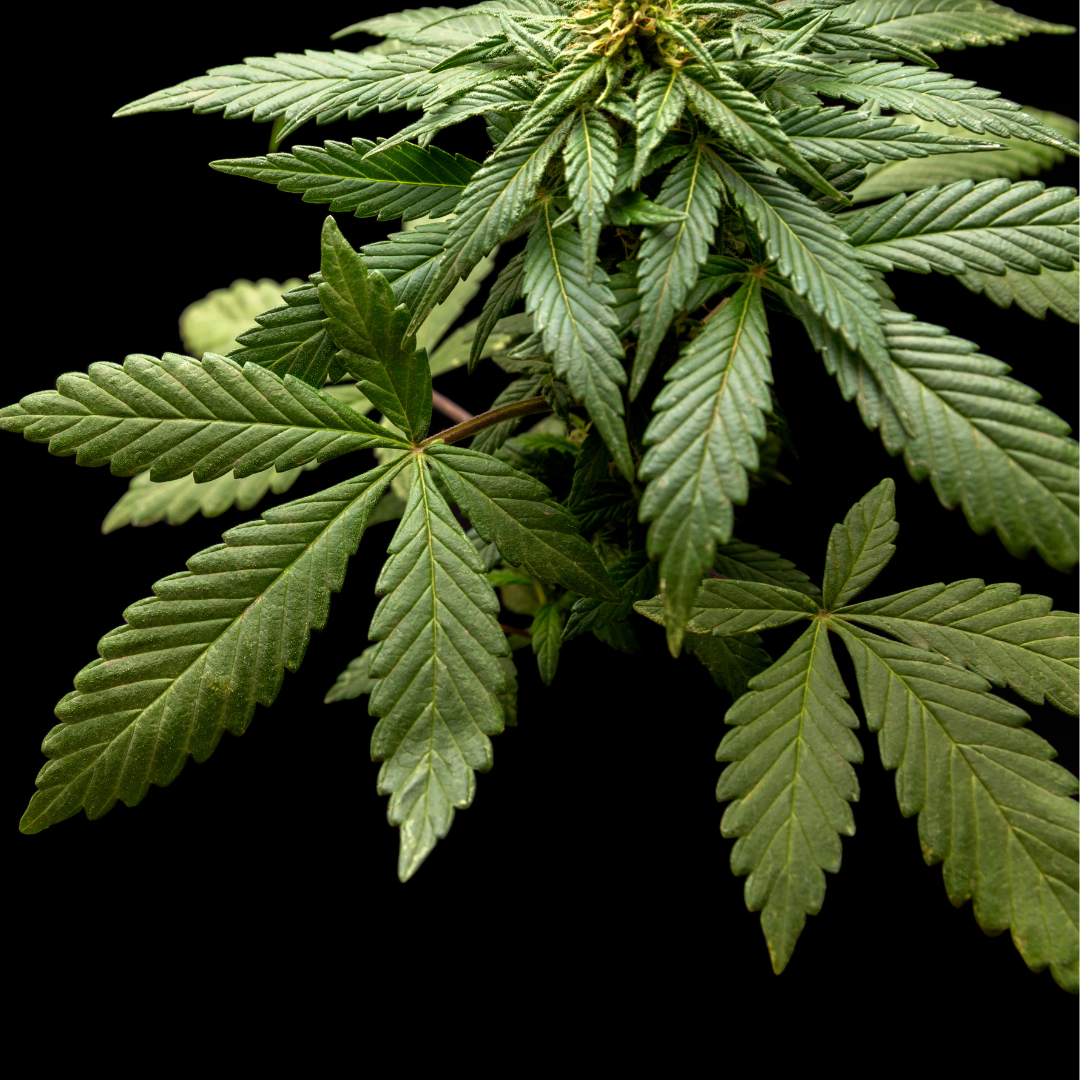
From transition to early flowering is when your plants will stretch significantly before full bloom. You may notice excessive branching during this time. To allow airflow through the canopy, many experienced growers will thin out the interior spindly branches using shears to remove them. This allows light to penetrate through the plant and helps to avoid fungal pathogens.
Week 1: Transition to Flowering
This is higher than what plants can utilize for photosynthesis in a regular ambient CO2 environment of around 420ppm, but his CO2 levels fluctuate between 500-800ppm. A higher ratio of CO2 allows for increased rates of photosynthesis utilizing more light energy. He also grows at quite high concentrations of nutrients, about 2.25 EC. Because he’s using a recirculating deep-water culture system, plants tend to grow more vigorously, resulting in large yields and shortened crop cycle times. Deep water culture is a hydroponic method in which roots are submerged in an aerated nutrient solution.
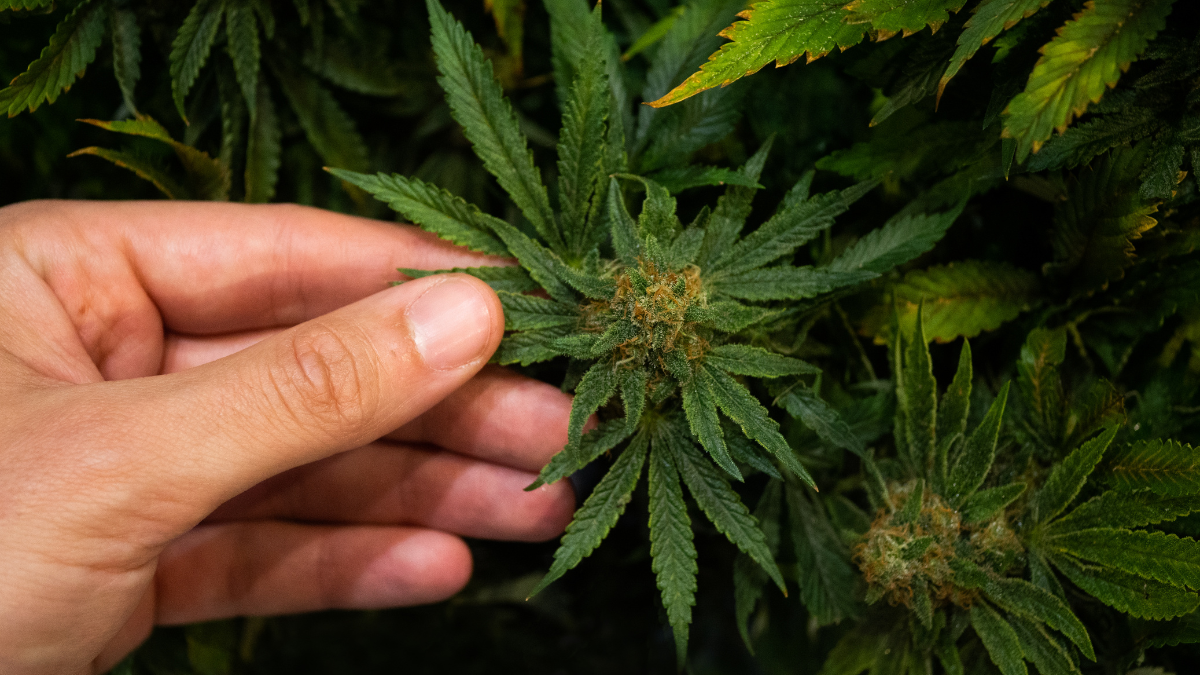
During the first week of flowering, cannabis plants undergo a dramatic hormonal shift triggered by changes in light duration. The plants shift their focus from vegetative growth to reproductive development. Growers will soon notice pre-flowers forming at branch nodes (if they hadn't already become apparent during vegetative growth), indicating the onset of flowering.
It's essential to adjust the light cycle to 12 hours of light and 12 hours of darkness to trigger flowering. If you are growing from regular (non-feminized) seed, now is a good time to check the nodes on each plant to see if there's clusters of pollen sacs. The pollen sacs indicate a male plant, while two white pistils (or stigma) emerging from a green calyx indicate a female plant.
During flowering, airflow throughout the growing environment is essential, as the increased biomass creates microclimates that allow fungal pathogens like bud rot and powdery mildew to develop. Stagnant air within the grow space must be avoided and exhaust fans should have enough CFM (cubic feet per minute) to create a negative pressure airspace.
This makes controlling high temperatures and high relative humidity, a breeze (forgive the pun). You want to aim for a fan that can exchange the entire volume of air in your grow space once every 3 minutes. For those concerned with the fragrant nature of cannabis during flowering, a carbon filter can be installed on your exhaust fans to eliminate most (if not all) smell outside of the growing environment.
It is also essential to make sure you are watering in a plant-friendly pH range of 5.8-6.2 (for hydroponic growers) and 6.5-7.0 for soil growers. Nutrient concentrations should also be monitored, with solutions that align with weekly feeding charts in parts per million (ppm) or electrical conductivity (EC). These concentrations will vary week by week.

Outdoor growers will see flowering begin after the nighttime hours allow for 12 hours of darkness. Flowering is generally triggered by mid-summer. Ensure your plants are in the best place to get full sun.
Weeks 1 & 2: Early Flowering

- Light cycle: 12 hours of light, 12 hours of darkness
- Light intensity: Maintain high light intensity, ideally around 600-1000 µmol/m²/s of photosynthetic photon flux density (PPFD). 1000-1400 PPFD with CO2 supplementation.
- Spectrum: Use full spectrum LED lights or HPS bulbs with a good proportion of red and far-red spectrum light to stimulate flowering.
- Temperature: Maintain daytime temperatures around 21-27°C and nighttime temperatures around 18-24°C.
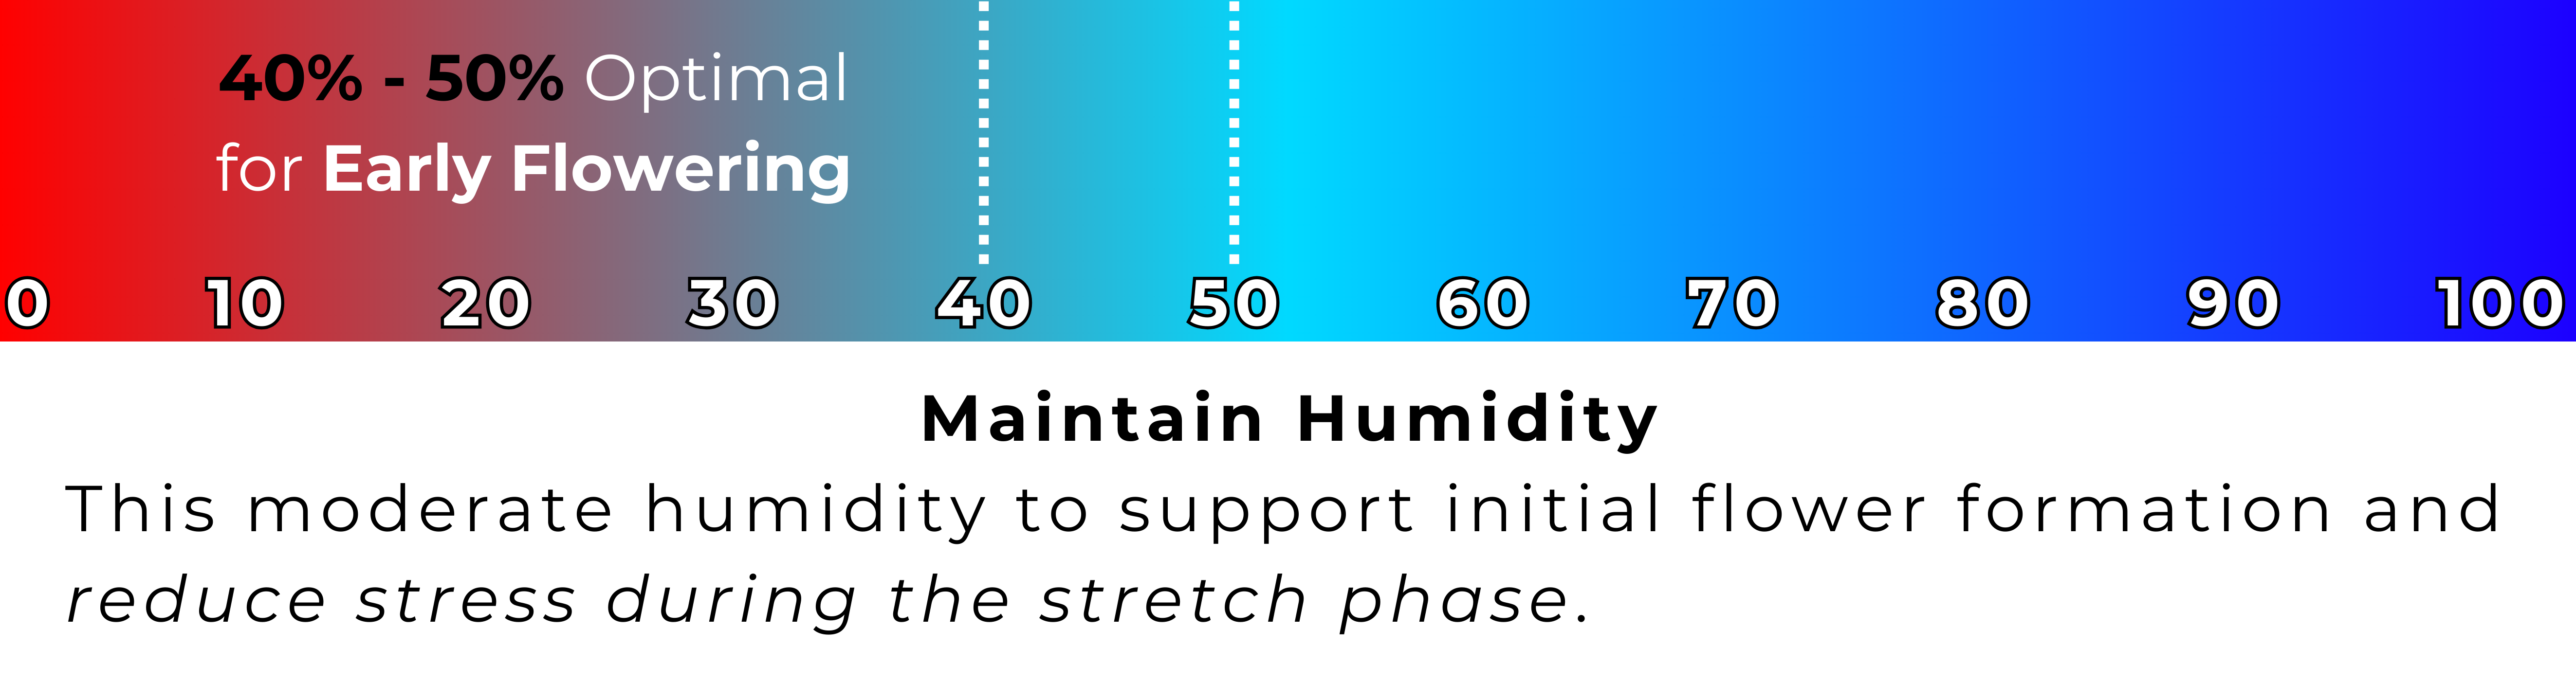
- Humidity: Keep humidity levels around 40-50% RH (relative humidity), to support vigorous vegetative growth and prevent dehydration.
- Defoliation: Some growers may continue to selectively remove large fan leaves that are shading bud sites to improve light penetration and airflow. However, it's essential to be cautious not to stress the plant too much during early flowering.
- Lollipopping: This involves removing lower growth and small popcorn buds from the bottom of the plant to focus energy on the main colas.
Week 2: Foundation of Flowering
In the second week of flowering, cannabis plants continue to stretch and produce more flowers. The development of pistils becomes more pronounced as tiny white hairs emerge from the pre-flowers. This stage is critical for maintaining ideal environmental conditions, including temperature and humidity, to prevent stress-induced problems such as mold or nutrient deficiencies.

Week 3: Bud Formation
Week three marks the beginning of significant bud formation (strain-dependent). Cannabis plants devote their energy to producing dense clusters of flowers known as buds. Growers should closely monitor nutrient levels, ensuring plants receive adequate phosphorus and potassium to support flower development. Future Harvest growers using our liquid formulas add phosphorus (P) and potassium (K) boosters like Bud Start or Ton-O-Bud during this time to enhance flower production and maximize yields at harvest. Maintaining proper airflow and humidity levels becomes increasingly crucial to prevent moisture-related issues.
Week 3 & 4: Mid Flowering

- Light cycle: Same as weeks 1-2 (12 hours light, 12 hours darkness)
- Light intensity: Maintain high light intensity within the same range as weeks 1-2
- Spectrum: Keep the spectrum consistent, 600-1000 PPFD with a focus on red light to support bud development
- Temperature: 21-27° during the daytime and nighttime temperatures 18-21°C, maintaining consistency with weeks 1-2.
- Humidity: 40-50% RH
- LST (Low-Stress Training): While LST is typically performed during the vegetative stage, some growers may still gently manipulate branches to open the canopy and ensure even light distribution to bud sites. However, caution should be exercised to avoid causing damage to developing flowers.
- Support: As buds become heavier, providing support with stakes, trellis netting, or other methods can help prevent branches from bending or breaking under their weight.
- Consider supplementing additional P and K for vigorous flower development.
Week 4: Enhanced Bud Development
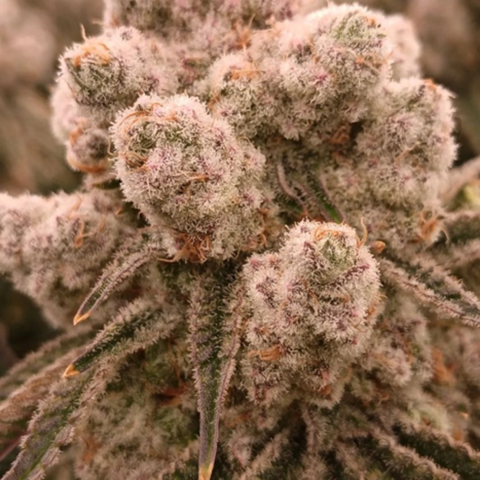
By the fourth week of flowering, most cannabis plants are in full bloom, with buds becoming larger and more resinous. Trichome production intensifies, giving buds a sticky and aromatic quality. This stage requires meticulous attention to detail, including precise nutrient management, pest control, and environmental control. Growers may also consider techniques such as defoliation or lollipopping touchups to remove some new sub-canopy growth. This period is when Dosaline Bloom and Liquid Ton-O-Bud demonstrate the powers of phosphorus and potassium during flowering, with less emphasis on nitrogen.

Week 5: Maturation Phase Begins
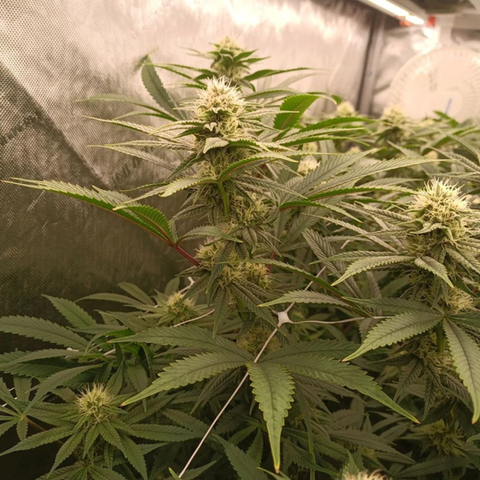
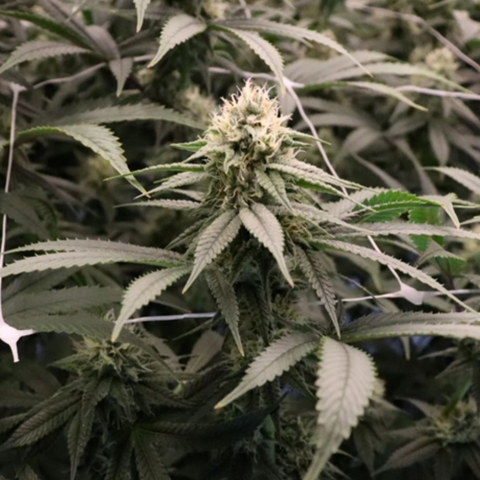
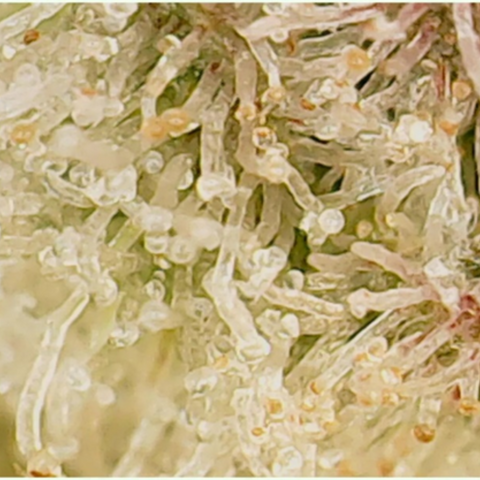
As cannabis plants enter the fifth week of flowering, buds continue to swell and fill out, some white pistils will begin to turn brownish red during this phase. Many new growers mistake pistil maturation as a sign of when to harvest, but the real indicator of bud development lies in the trichomes. The glandular resin that coats the flowers and sugar leaves.
Monitoring trichomes is easily done using a jeweler’s loupe or a handheld USB microscope. Trichomes transition from clear to cloudy and amber as they mature. Some early flowering strains may show cloudy trichomes at week 5 but most cannabis strains require 8-12 weeks (about 3 months) of flowering before harvest.
This period is characterized by a surge in resin production and terpene development, contributing to the aroma and potency of the final product.
Week 5 & 6: Late Flowering

- Light cycle: Some growers choose to increase the darkness period to 11 hours of light and 13 hours of darkness to simulate the natural late summer/early autumn conditions which may help enhance resin production and terpene development. That said, 12 and 12 throughout the flowering cycle is the most practiced approach to light regimen during flowering.
- Light intensity: Maintain high light intensity and 600-1000 PPFD levels, though some growers may slightly reduce light levels to mimic natural light conditions.
- Spectrum: Continue with the same spectrum. Some advanced growers may introduce more far-red light (around 730nm) to enhance flowering and ripening during this time. Many modern full spectrum LED lights utilize far-red diodes. HPS lights also provide a nice warm spectrum for flower development.
- Temperature: Maintain daytime temperatures around 20-26°C and nighttime temperatures around 18-20°C.
- Support: Continuously monitor the plants for any signs of drooping or bending branches due to the weight of developing buds. Adjust support structures as needed to ensure the integrity of the plant structure.
- Defoliation: Some growers may perform light defoliation to remove excess foliage that may be blocking light to lower bud sites.
- Continue using bud boosters to encourage optimal yields.
Week 6: Ripening
Week six marks the onset of ripening (strain dependent: many strains flower for 12 weeks), as cannabis plants redirect energy from vegetative growth to flower maturation. This stage requires careful observation and timing to achieve the desired potency and flavor profile. Growers may choose to flush plants with water to remove excess nutrients and enhance the purity of the final product.
Because the need for additional is slightly diminished during this time, Future Harvest has developed a bud ripening PK boost, Bud Boom to dovetail with the growing cycle. Bud Boom slightly tapers off P-K content, while utilizing known ripening and hardening agents, sulfur and magnesium.

Day 41
Week 7: Transition to Harvest
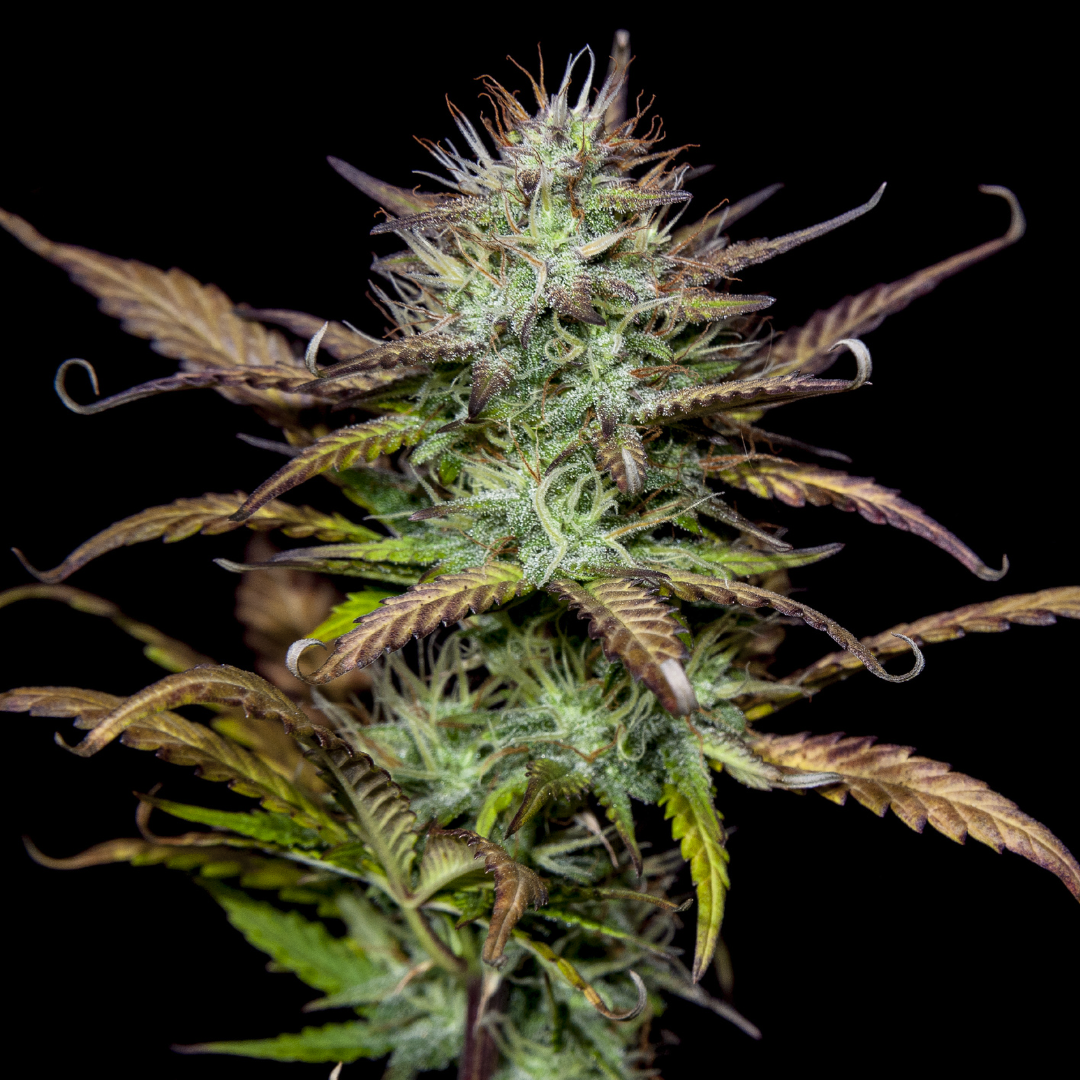
In the seventh week of flowering, cannabis plants approach harvest readiness, with buds reaching their maximum size and resin production. Trichomes turn amber, signaling peak cannabinoid and terpene production. Many experienced growers look for about 10%-20% amber trichomes, with the remaining trichomes cloudy. This can be easily observed using a 60x jeweler's loupe.
Growers should begin preparing for harvest by flushing plants with plain water to remove any remaining nutrients. Flushing with clear water will induce what is called “the fade,” which is a change of leaf color from green to yellows, red and purple; depending on the strain. Though somewhat controversial, there’s some evidence that shows that the slight stress on the plant just prior to harvest through a change in nutrition, changes cannabinoid profiles. This is likely the result of a survival mechanism. Many growers do this to flush the nutrient salt content from their medium and feel that flushing results in an enhanced terpene profile.
Most outdoor strains will be ready for harvest in September and October. It is important for growers to know the characteristics of their climate and pick strains that will complement the growing season. For those growing in climates where frost comes early, fast-flowering seeds and auto flowering seeds may work best. Fast-flowering seeds are photoperiodic and still require 12 hours of darkness to trigger flowering. Auto-flowering seeds are non-photoperiodic and will automatically begin flowering as they reach maturity.
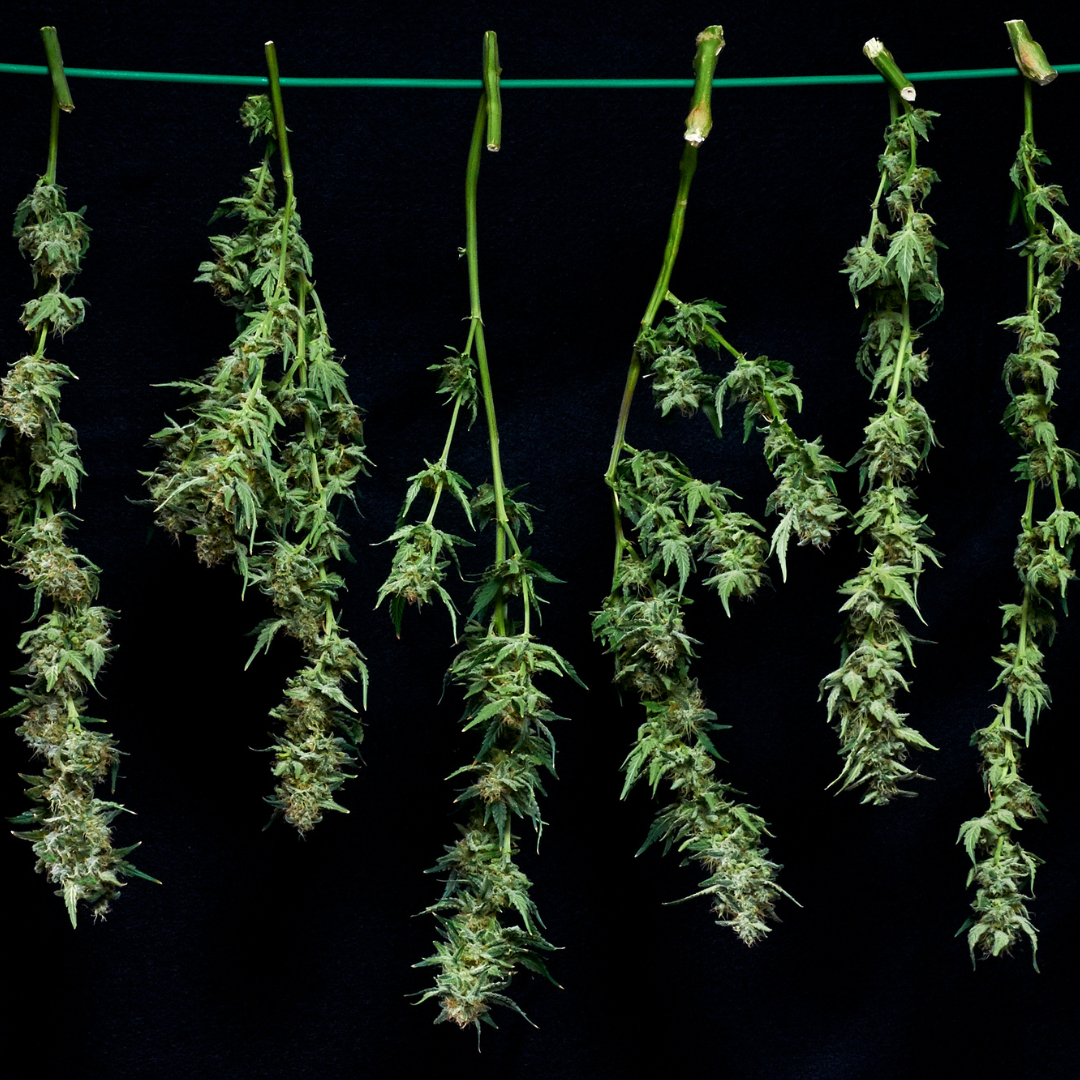
During the preparation for harvest, it is a good idea to plan for proper drying and curing techniques to preserve the quality and potency of the harvested buds. There are various ways to approach drying and curing, which we will cover drying and curing in the next blog.

Final Weeks: Flushing in the Flowering Stage
- Light cycle: Some growers continue with 11 hours of light and 13 hours of darkness, while others may transition back to a 12/12 light cycle
- Light intensity: Moderate to high light intensity is still necessary, but some growers may slightly decrease light levels during this period
- Spectrum: Maintain a similar spectrum to previous weeks, with a focus on red, orange, and far-red light to support late-stage flowering and ripening
- Maintain the same temperatures and RH as previous weeks.
- Consider flushing your medium 1 to 2 weeks prior to harvest with fresh water and no nutrients.

Conclusion
The cannabis flowering stage is a critical period in the plant's life cycle, requiring careful attention to detail and optimal environmental conditions. By understanding the week-by-week progression of flowering, growers can maximize yield, potency, and flavor while minimizing plant stress-related problems. Whether cultivating for personal use or commercial production, mastering the nuances of cannabis flowering is essential for producing high-quality, premium-grade buds. To achieve results like @treetrunk422, you can source the Future Harvest Dosaline line from your local participating retailer or online at dosaline.com
Navigate through our Seed to Harvest series to explore each stage of cannabis cultivation:

Continue Reading
Leave A Reply
Your email address will not be published. Required fields are marked *