The Vegetative Stage - Week by Week Visual Guide

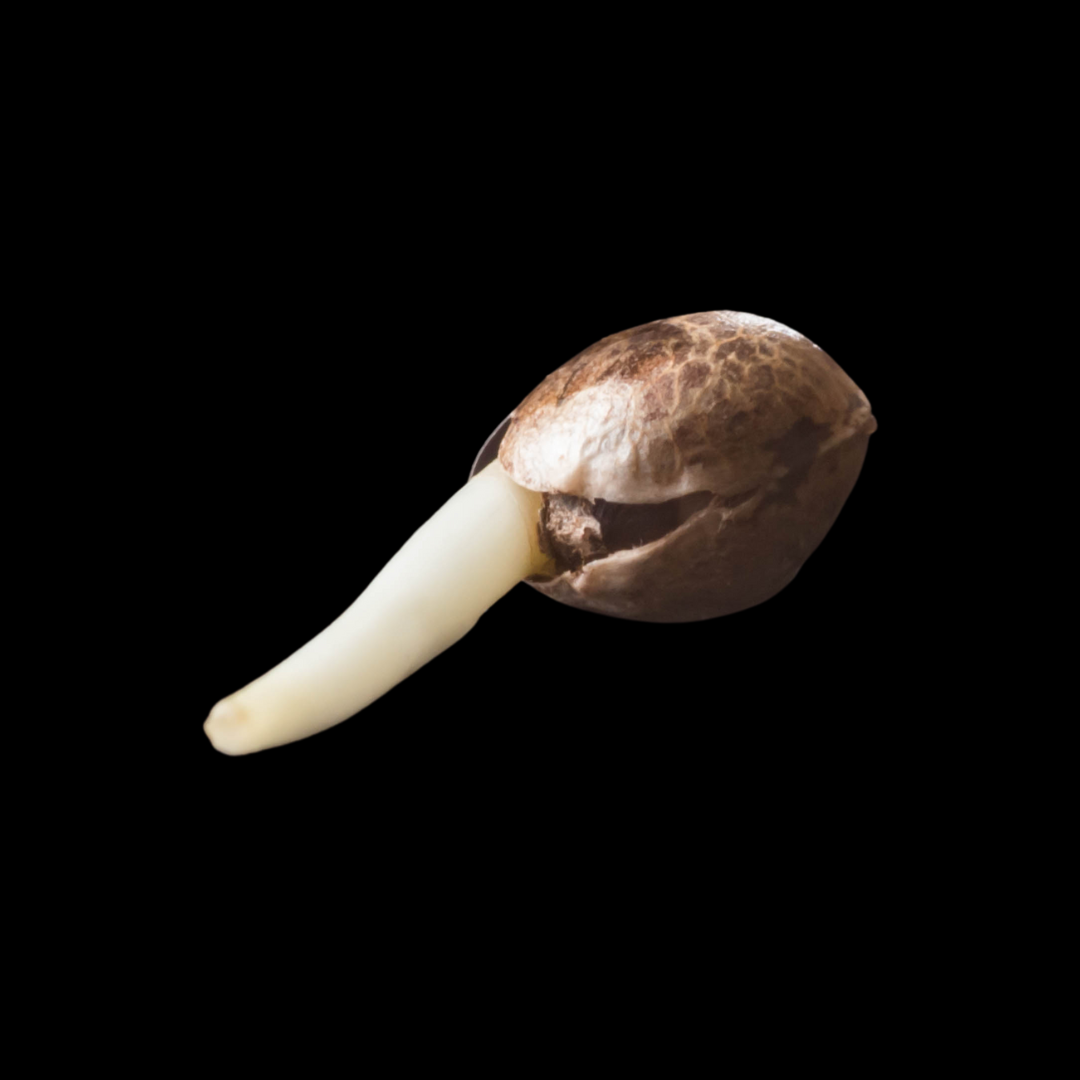
The vegetative stage is a pivotal period in the life cycle of cannabis plants, establishing exponential growth and overall plant structure in preparation for flowering. This article is a continuation of part two of the Seed to Harvest series, which highlighted the process from seed germination to seedlings to week one of vegetative growth.
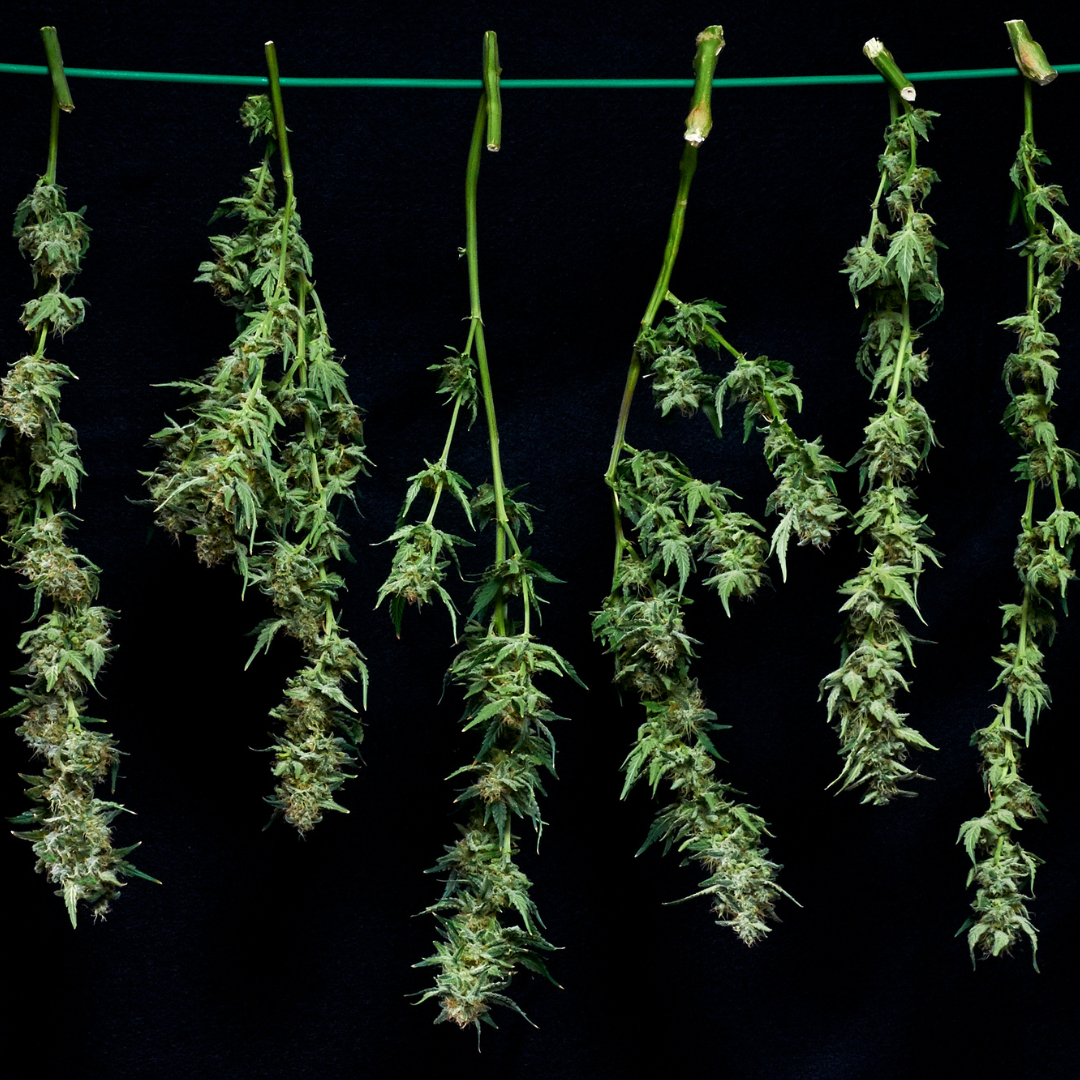
The images of vegetative growth, using a recirculating deep-water culture method, were provided to us by long-time Future Harvest grower, @treetrunk422 We have selected these images to illustrate the process week-by-week.
In this edition we will cover week one of the vegetative cycle up until sexual maturity. To understand the vegetative phase, we will need to cover a variety of key aspects such as: growing environment, transplanting, light requirements, water pH and plant nutrient ratios (PPM, TDS and EC), and touch on some time-tested plant training techniques. We will also briefly explore the differences between hydroponic and soil cultivation methods.
Weeks 1-3: Vegetative Growth
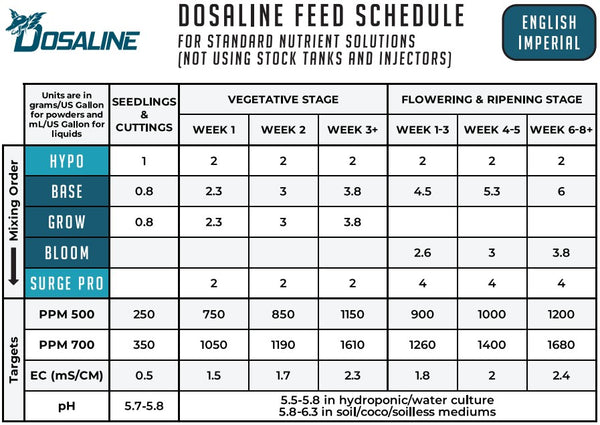
Now that your seedlings have developed roots, with a few sets of true leaves, plant nutrients are introduced into the watering regimen. Our Future Harvest Feeding Schedule or our handy customizable Nutrient Calculator will provide the proper ratios of nutrients needed for week 1.

As your plants take up nutrients through their developing root system, they will go from a period of slow growth into a period of exponential growth. The exponential growth stage during the vegetative cycle results in plants doubling in size each week. Cannabis plants remain in the vegetative stage for as long as you can provide over 12 hours of light per day. When they receive 12 darkness per day, photoperiodic cannabis plants will be triggered into flowering.
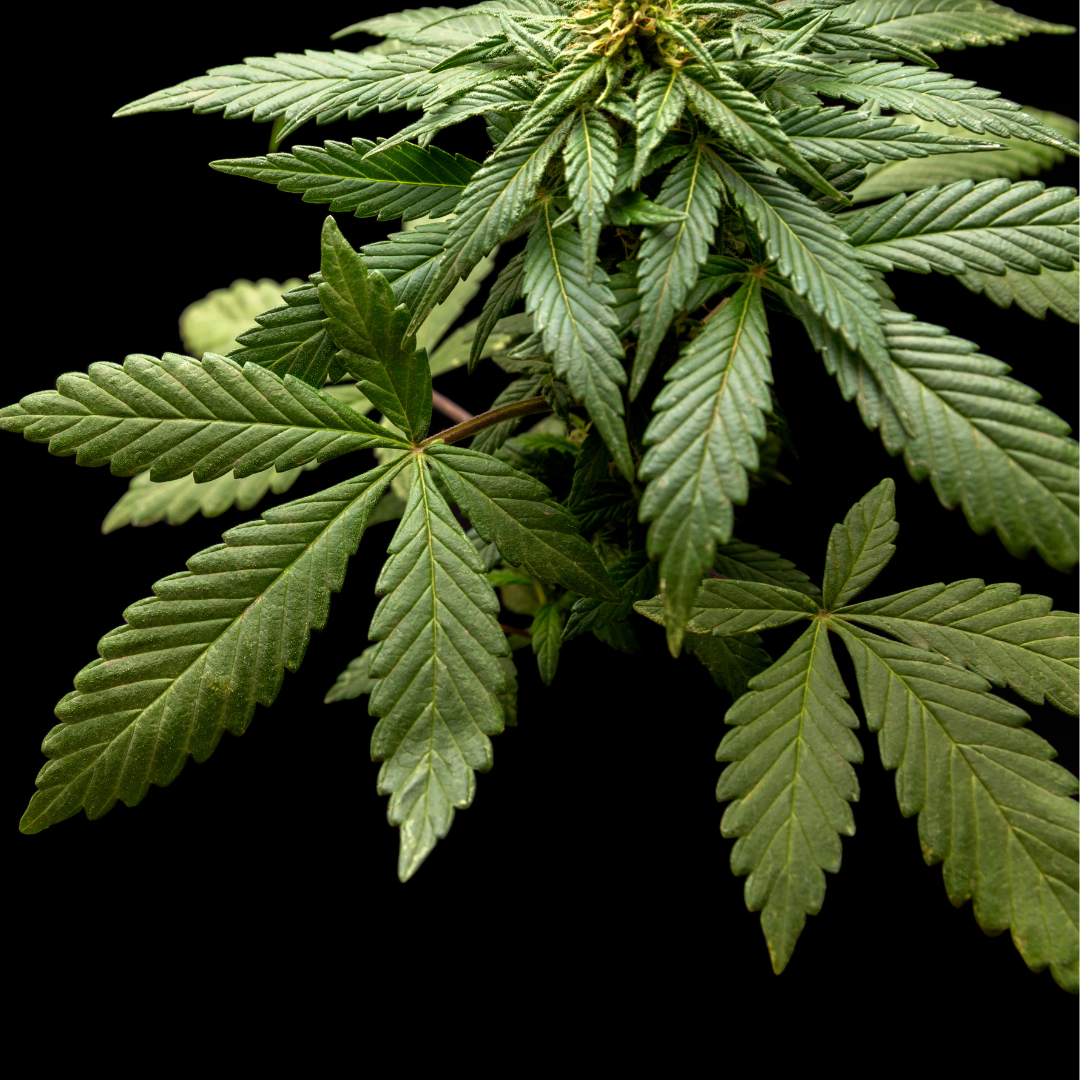
Most indoor growers opt for an 18-hour light cycle. Some even run their lights 24 hours a day, though this method is less cost effective. The vegetative stage is all about the plant accumulating biomass, growing large canopies and strong stems with large leaves of 5 to 12 leaflets or "fingers." The large leaves, known as fan leaves, develop in pairs at the site of new growth called the apical meristem.

Vegetative plant nutrient formulas have higher ratios of nitrogen compared to bloom and micronutrient fertilizers. This nitrogen is essential because vegetative cannabis plants utilize nitrogen to create chlorophyll, a photosynthetic molecule of green pigment that absorbs light energy, oxygen, water vapor and CO2 to create stored energy for exponential growth. If you notice your leaves yellowing around the base of your plant, this is likely due to a nitrogen deficiency. Should this occur, increase the dose of your nitrogen-rich “grow,” fertilizer.
A prime example of a perfect vegetative fertilizer for growing cannabis is Future Harvest's premium powdered Dosaline Grow, which is utilized to great success by @treetrunk422 in his deep-water culture setup. Holland Secret Grow also provides the perfect balance of nitrogen for cannabis growers to create a beautiful, green canopy.
This nutrient solution is meticulously crafted to boost green growth, providing essential elements for plants to flourish during the vegetative phase.
Purchase Now
It’s specially formulated to foster strong root systems and promote dynamic growth, laying a solid foundation for your plants’ early life stages.
Purchase NowGrowing Environment
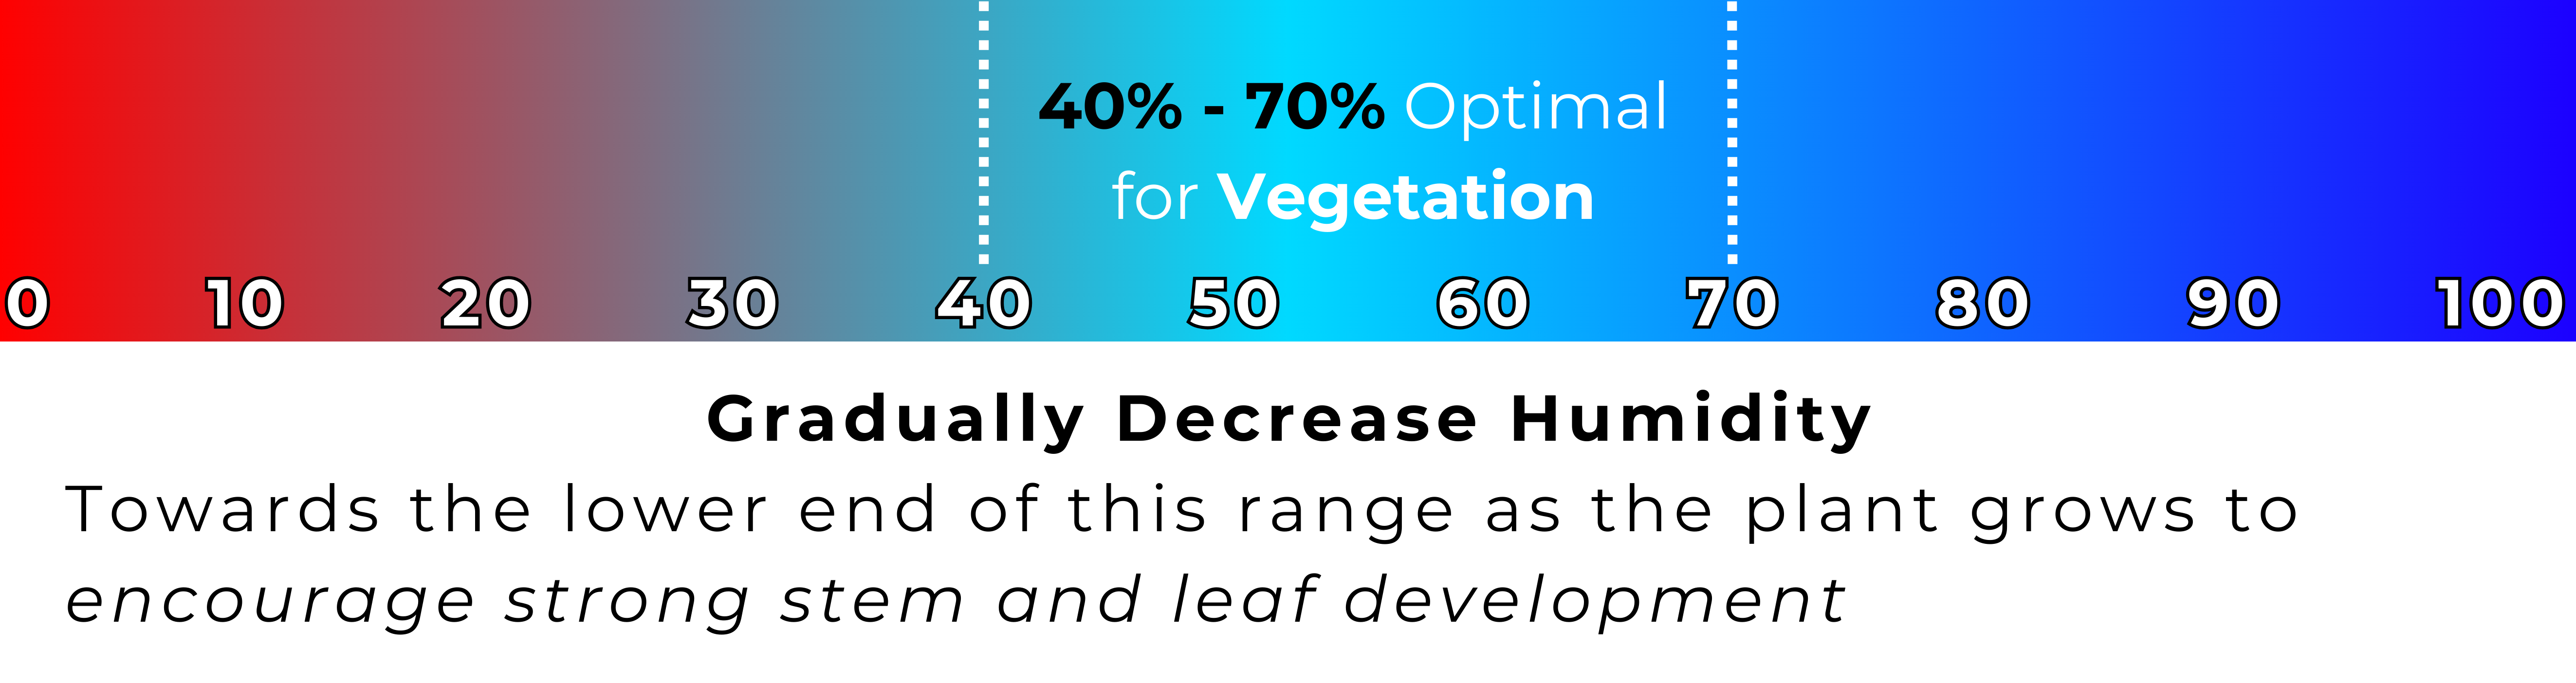
Vegetative plants require less relative humidity than seedlings, so you can begin lowering relative humidity by 5% each week of growth but stay within an optimal range of 40-70%.
Cannabis grows best at temperatures between 21 degrees and 27 degrees Celsius. If you plan to supplement CO2, you can grow at higher temperatures around 30 degrees Celsius. During nighttime hours or lights out periods, ambient temperatures will likely drop around 5 degrees without issue. High fluctuations of relative humidity and ambient temperatures should be avoided, if possible, as they can cause plant stress and lead to fungal diseases like powdery mildew.
Indoor growing requires fresh air exchange by implementing an exhaust fan and air intake fan if needed. Additionally, air circulation within the growing environment should be provided by one or several fans to gently blow through the canopy. The air exchange and circulation within the growing environment prevents stagnant air around the leaves and provides ample amounts of CO2 to be absorbed through the small pores of the leaf stomata.

Transplanting
Transplanting is a critical process in the vegetative growth of cannabis, vital for allowing the root system the space it needs to expand, supporting healthy plant development. Initially, cannabis seedlings often start in smaller containers, such as solo cups, to accommodate their minimal root systems. As they grow, their roots require more space to prevent becoming rootbound—a condition where roots are so densely packed they can't grow properly, leading to stunted growth or even plant death.
When to Transplant
Cannabis plants are typically ready for their first transplant when they've developed 4-5 sets of true leaves, a sign that their root system is becoming too large for their current container. Additionally, if roots begin to emerge from the container's drainage holes, it's a clear indication that the plant needs more space. Waiting until the end of the vegetative stage before transitioning to the flowering stage is crucial to ensure the plant is in its final pot or ground location, providing ample room for root expansion during the bud development phase.
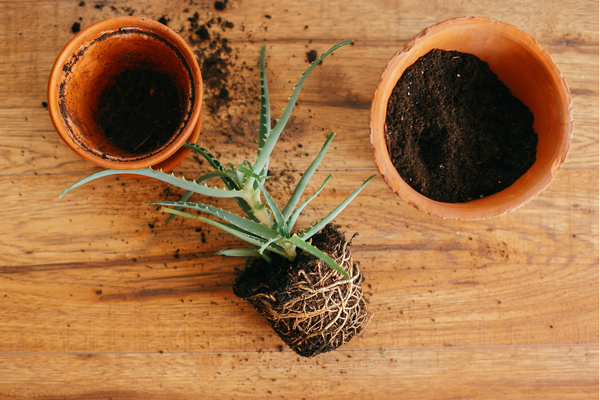
How to Transplant
To minimize transplant shock—a stress response from root disturbance—handle plants gently, keep the environment clean, and ensure the soil is appropriately moist but not waterlogged. Start by preparing the new, larger pot with soil, making a hole large enough for the plant's root ball. Carefully transfer the plant, trying not to disturb the roots, and fill in around it with more soil. Water the plant lightly after transplanting to help it settle in its new home. It's also advised to transplant under mild lighting to reduce stress on the plant.
Choosing the Right Pot Size
The size of the new pot is significant: it should offer at least double the space of the previous one to accommodate root growth and reduce the frequency of transplants. However, transplanting directly into a very large pot can lead to issues like waterlogging and nutrient leaching, as the extensive soil can hold water longer than the plant's roots can absorb, leading to potential root rot.
| Plant Height | Pot Size | |
|---|---|---|
| Inches | cm | |
| 0-6" | 0-15 cm | 16 oz. (Solo Cup) |
| 6-12" | 15-30 cm | 1-gallon |
| 12-24" | 30-61 cm | 3-gallon |
| 24-42" | 61-107 cm | 5-gallon |
| 42-60" | 107-152 cm | 10-gallon |
| 60-84" | 152-213 cm | 20-gallon |
Importance of Gradual Transplantation
A gradual approach to increasing pot size—such as moving from a solo cup to a 1-gallon pot and then to a 5-gallon pot as the plant grows—ensures that the root system can expand healthily without becoming overwhelmed. This method supports robust plant growth and development, paving the way for a successful vegetative stage and subsequent flowering period.
Light Requirements
In the initial weeks, the focus is to encourage strong root and stem development. To achieve this, provide 18 hours of light per day. Aim for a light intensity (PPFD) of 250-600 within the PAR range (photosynthetic active radiation). Most grow light manufacturers will provide this information for growers to utilize.

Fluorescents, LED lights, Metal Halide, HPS and CFL lights can be used during vegetative growth. That said, only HPS lights and LEDs are recommended by us during flowering. Flowering dense, high-yielding plants requires increased light intensity and optimal red to far-red wavelengths.
Outdoor growers utilize the sun during all stages of plant growth. The sun has substantially more PAR light intensity than any grow light could provide. Small plants may even need to be slowly introduced to direct sunlight due to the intensity of light the sun provides.
Water pH and EC
Maintaining the right pH level is vital for nutrient uptake. Hydroponic, coco and soilless mix mediums thrive in a pH range between 5.5 and 6.2. Soil has a slightly less acidic optimal range between 6.0 and 7.0.
Begin with a low electrical conductivity (EC) level or total dissolved solids, depending on your nutrient meter. Start at approximately 1.6 EC (800-850ppm on 500 scale with a TDS meter) in the water for hydroponic systems and adjust as needed based on the plant's response. Growers that use hydroponic methods tend to use solutions around the 1.8-2.3 range, once vigorous exponential growth is evident.
When your plants show vigorous growth, they use more nutrients. Be careful not to over-fertilize as this hinders nutrient uptake for some essential nutrients and can burn a plant. Following feeding schedule dilutions usually mitigates the risk of nutrient toxicity, some growers may even choose to use less nutrients than a feed chart suggests.
Plant Training Techniques
Introduce plant training techniques during this stage to shape the plants for optimal light exposure and future yields. Plant training is the act of manipulating a plant's structure to maximize flowering sites and tailor plant structure to you given growing environment. "Topping" is one of the most effective ways to manipulate plant structure. Topping refers to removing the tip of the main shoot (apical meristem), which is then replaced with two shoots that replace the dominant one you've removed. Untopped cannabis plants resemble a Christmas tree shape while topped plants are bushier with more lateral branching.

If you choose to top your plants, it is good to begin during the first weeks of vegetative growth. This allows you more time to see how the plant structure develops as it recovers and make informed assessments for further topping if desired. Topping can be done several times during the vegetative stage provided your plants have time to recover before flowering (about one week) each time a dominant shoot is removed. Topping once will provide two dominant shoots, twice will create four, three times will result in six shoots, and so on.
Weeks 4-5: Sexual Maturity

At 32 days post-germination, @treetrunk422 begins full nutrient dosing with Dosaline Grow and Base in his RDWC, hitting a 2.3 EC level. This setup, shown in Week 3's vegetative phase, promotes rapid, healthy growth due to optimal aeration and nutrient availability.

By day 34 of the vegetative cycle, these plants are sexually mature and making the final push of exponential growth before 12 and 12 lighting triggers flowering.

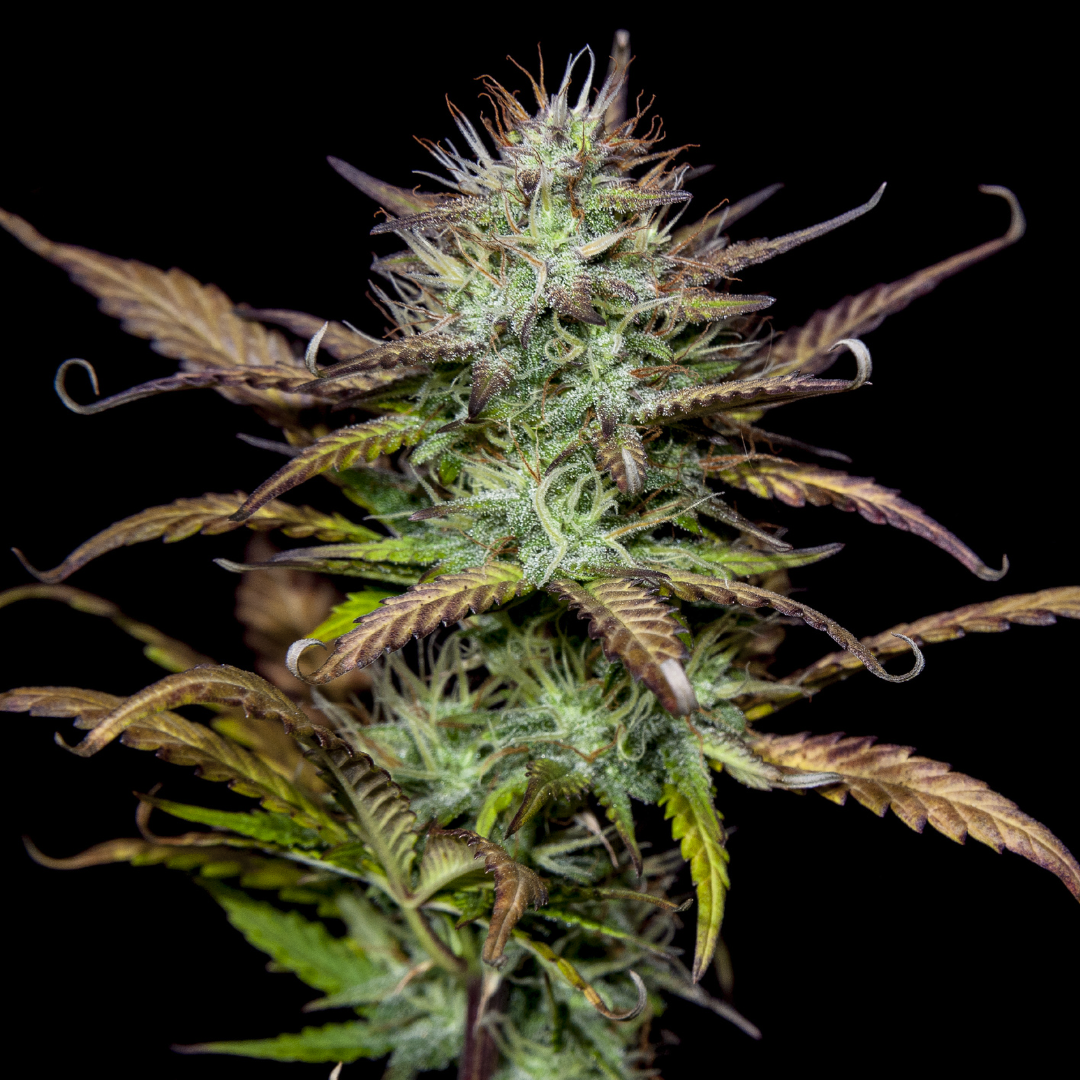
Usually around Weeks 4-5 of the vegetative cycle is when plants reach sexual maturity and begin demonstrating sex by the emergence of pre-flowers. For those starting from feminized seed, the constant monitoring for sex determination is less crucial than it is for those growing from regular seed. That said, one should always be on the look-out for signs of hermaphroditic plants which can pollinate a growing room, resulting in seeded harvests of drastically diminished potency.
A female preflower will produce two white hairs (stigma/pistils) that emerge from a green calyx at the node (the intersections where branching occurs). A male plant will develop clusters of pollen sacs at the node. If you successfully remove male plants before the pollen sacs open, you will prevent your other plants from being pollinated during flowering.
Related Article

Cannabis Gender: Male vs. Female Plants
Learn how to identify and manage cannabis gender in your grow operation.
Growing Environment
Entering weeks 4 to 5, the focus is on sustaining vigorous growth. Keep the temperature within the range of 24-29°C during the day. Further reduce humidity levels by 5% staying within 55%-60% to discourage mold and mildew.
Transplanting
Evaluate the root system during these weeks and consider transplanting into larger containers if necessary. Remember that during flowering a plant can stretch to more than double its vegetative size, so be sure you have enough height in a growing environment to accommodate your flowering plant. It is crucial that your pots provide good drainage to prevent waterlogging, which can deprive roots of oxygen they need and cause root rot.
Light Requirements
Maintain a light cycle of 18-24 hours per day, utilizing high-intensity light sources to support robust vegetative growth. Adequate lighting during this phase contributes significantly to the development of a healthy and vibrant canopy. You can now aim for a higher canopy PPFD of 600.
Water pH and EC
Continue to monitor the pH levels regularly and adjust as needed. Maintain an EC level between 1.6-2.3 to meet the escalating nutrient demands of the rapidly growing plants. For hydroponic systems, ensure nutrient levels are adjusted accordingly.
Plant Training Techniques
Plant training becomes increasingly important during this stage. Continue with Low-Stress Training (LST) and topping as needed. Consider implementing advanced techniques like the Screen of Green (ScrOG) method to create an even canopy, maximizing light penetration.
A ScrOG approach involves allowing a plant to grow upward through a horizontal trellis net and bending branches in lateral directions through the netting to utilize the entire grow space during flowering. Many growers add a second trellis for bud support during flowering because large buds are often too much weight for the branches if left unsupported.
Weeks 6-7: Preparing for Transition into Flowering

This Picture illustrates @treetrunk422’s ScrOG approach with two tiers of trellising. As the plant blooms it will stretch considerably and will be supported by the second layer of trellising once flower development has begun.

By day 43, these vegetative plants shift to a 12/12 light cycle. Strategic topping and ScrOG techniques have shaped their bushy structure, enhancing light reach and airflow, critical for disease prevention as flowering approaches.
During weeks 6 to 7 is when many growers are readying their plants for the flowering stage. If you wish to vegetate your plants beyond these weeks, continue the practices outlined in this section until your plant reaches the desired size.
It can't be overstated enough that plants will stretch over double the height they are in vegetative growth during flowering. Without adequate ceiling height buds will grow too close to the light source, if growing indoors, resulting in heat stress and bleached flowers. It is also important that your plants have enough room in their growing environment to fully express themselves.
Oftentimes, new growers will grow as many plants as possible in a grow tent under the assumption that this creates larger yields. This is inaccurate and can lead to a host of fungal pathogens from diminished airflow in the growing environment and undeveloped buds in the sub-canopy due to poor light penetration. A well-informed grower can yield just as much with one well-trained, large plant in a grow tent by spreading out the canopy and utilizing a long vegetative cycle.
Growing Environment
As the plants approach weeks seven and eight, maintaining a stable growing environment is critical. Keep the temperature within the range of 24-29°C during the day, and further reduce humidity to 40% to discourage mold and mildew. A PPFD of 600 can now be increased to up to 850 in preparation for high intensity lighting during flowering but is not essential.
Transplanting
Assess your plant’s size and time between each watering during this time to determine whether a final transplant is needed into a larger pot. Should you choose, be aware that once flowering has begun there is no opportunity to transplant again. If you are noticing any drought-like symptoms or nutrient deficiencies, you might want to consider a larger pot. Flowering plants tend to be a lot thirstier than plants during the vegetative stage. Ensuring that these containers are adequate size for your plant to flourish in is crucial for the upcoming flowering phase.
Light Requirements
Maintain a light cycle of 18 hours per day, keeping a close eye on any signs of light stress. Adjust the light intensity accordingly to provide optimal conditions for the plants.
Water pH and EC
Continue monitoring and adjusting pH and EC as needed. During this phase, gradually reduce the nitrogen content in the nutrient solution to prepare the plants for the flowering stage. These dosage ratios of nutrients will be provided by feeding schedules, so a new grower needn't overthink it. EC by this point can be anywhere from 1.6-2.0, as your plants now have an extensive amount of root mass and can handle these higher concentrations without nutrient burn.
Plant Training Techniques
Continue with plant training techniques during weeks seven and eight. Low-Stress Training (LST) and topping can still be applied, but it's essential to be mindful of the plant's energy allocation as they prepare for the transition to flowering. You want your plant to be able to focus solely on flower development rather than allocating energy reserves to recovering from a recent topping, for example. That said, many experienced growers do a final defoliation just before switching to a 12/12 light cycle. This increases light penetration and airflow, promoting a healthier overall plant structure.
Conclusion
The vegetative stage is a critical phase that requires thoughtful methodology regarding plant structure, the growing environment, nutrient ratios, pH adjustments, pot size, and duration of a grower’s vegetative cycle. Whether you opt for hydroponic or soil cultivation, understanding the specific needs of your plants and adjusting environmental factors accordingly is key to a successful vegetative stage. Implementing advanced plant training techniques during this period sets the stage for a flourishing flowering phase, leading to a bountiful harvest. We hope you’ve found this article informative and continue reading into Part 4 of this blog series, which will cover week 1 of flowering until harvest day!
Navigate through our Seed to Harvest series to explore each stage of cannabis cultivation:

Continue Reading
Leave A Reply
Your email address will not be published. Required fields are marked *